In this tutorial, we’ll see how to quickly add a shaded border to a photo in Adobe Photoshop like so:
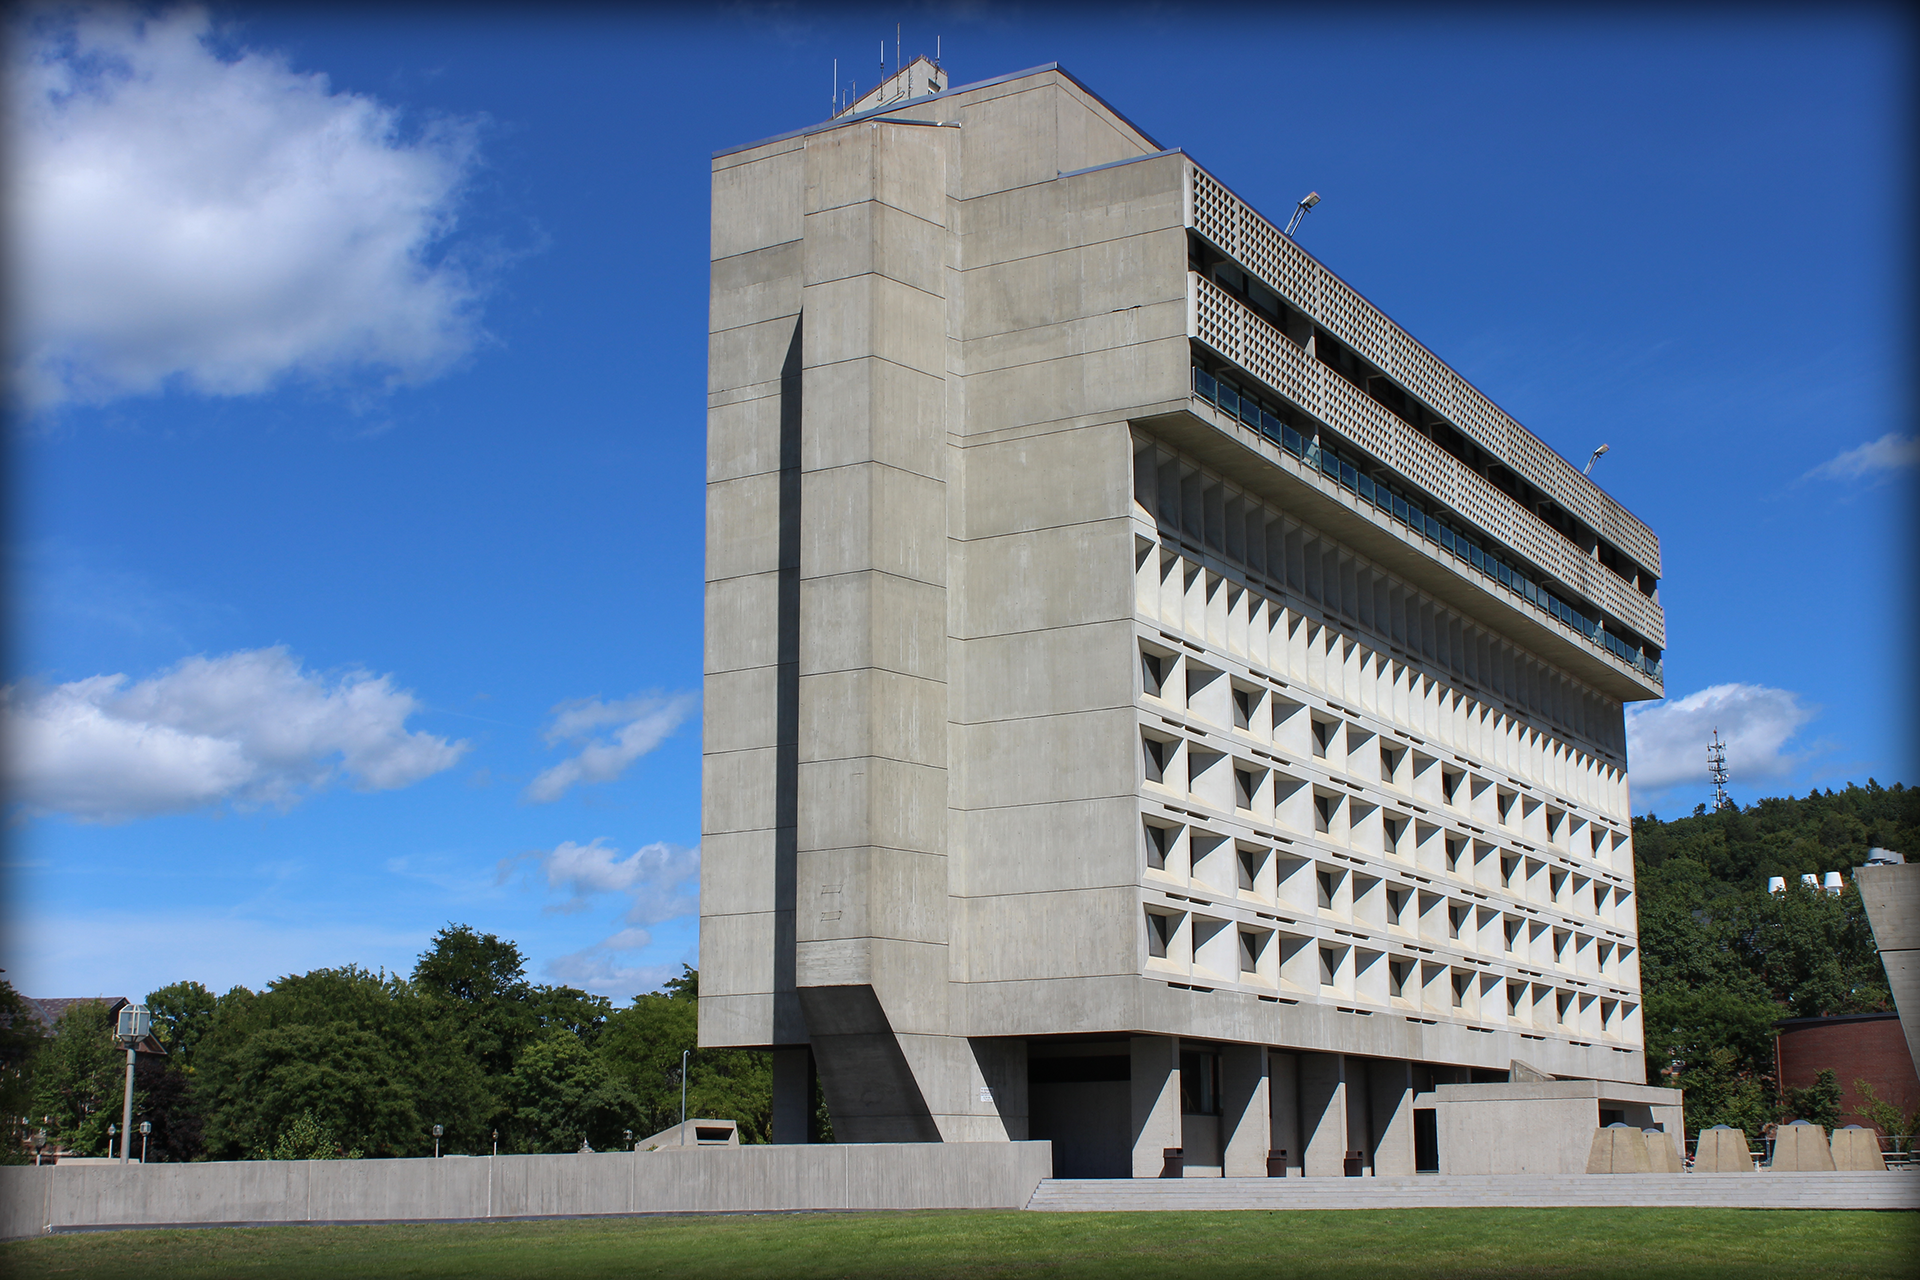
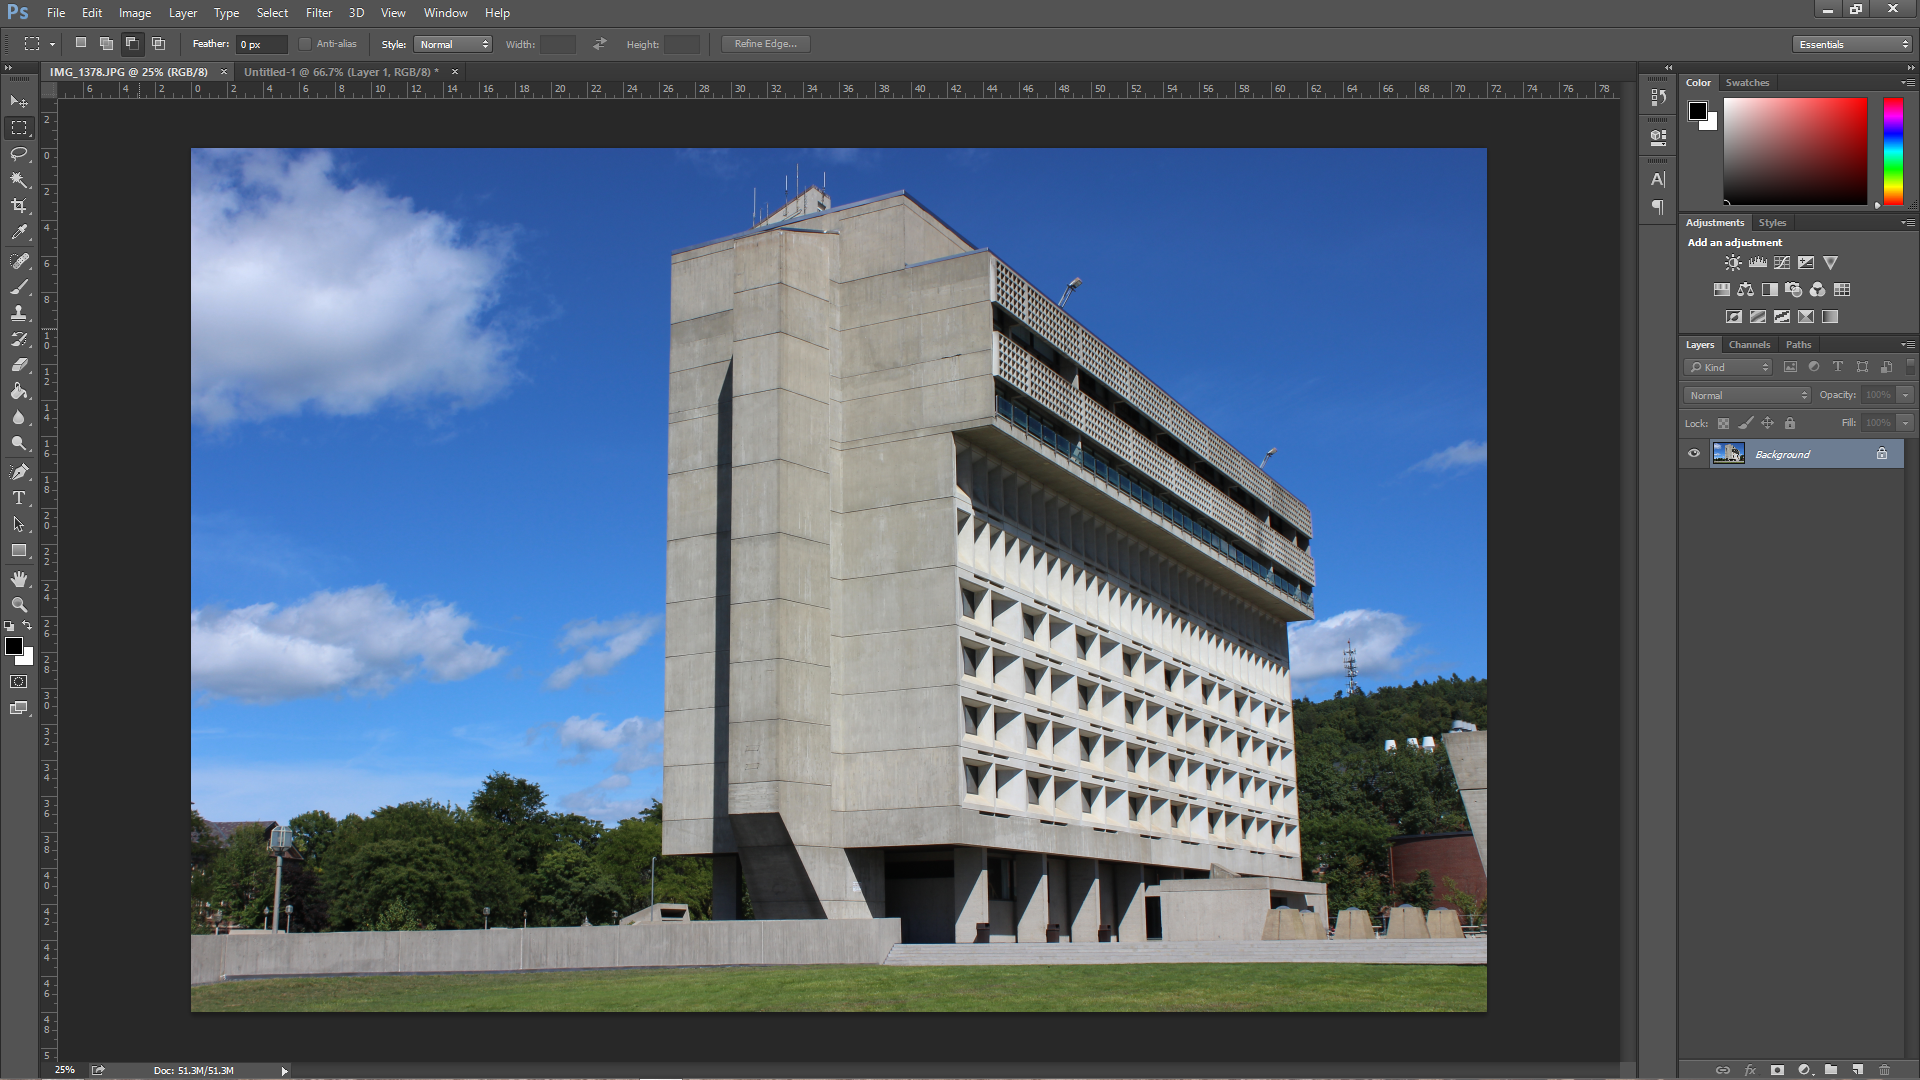
Begin by opening your photo of choice.
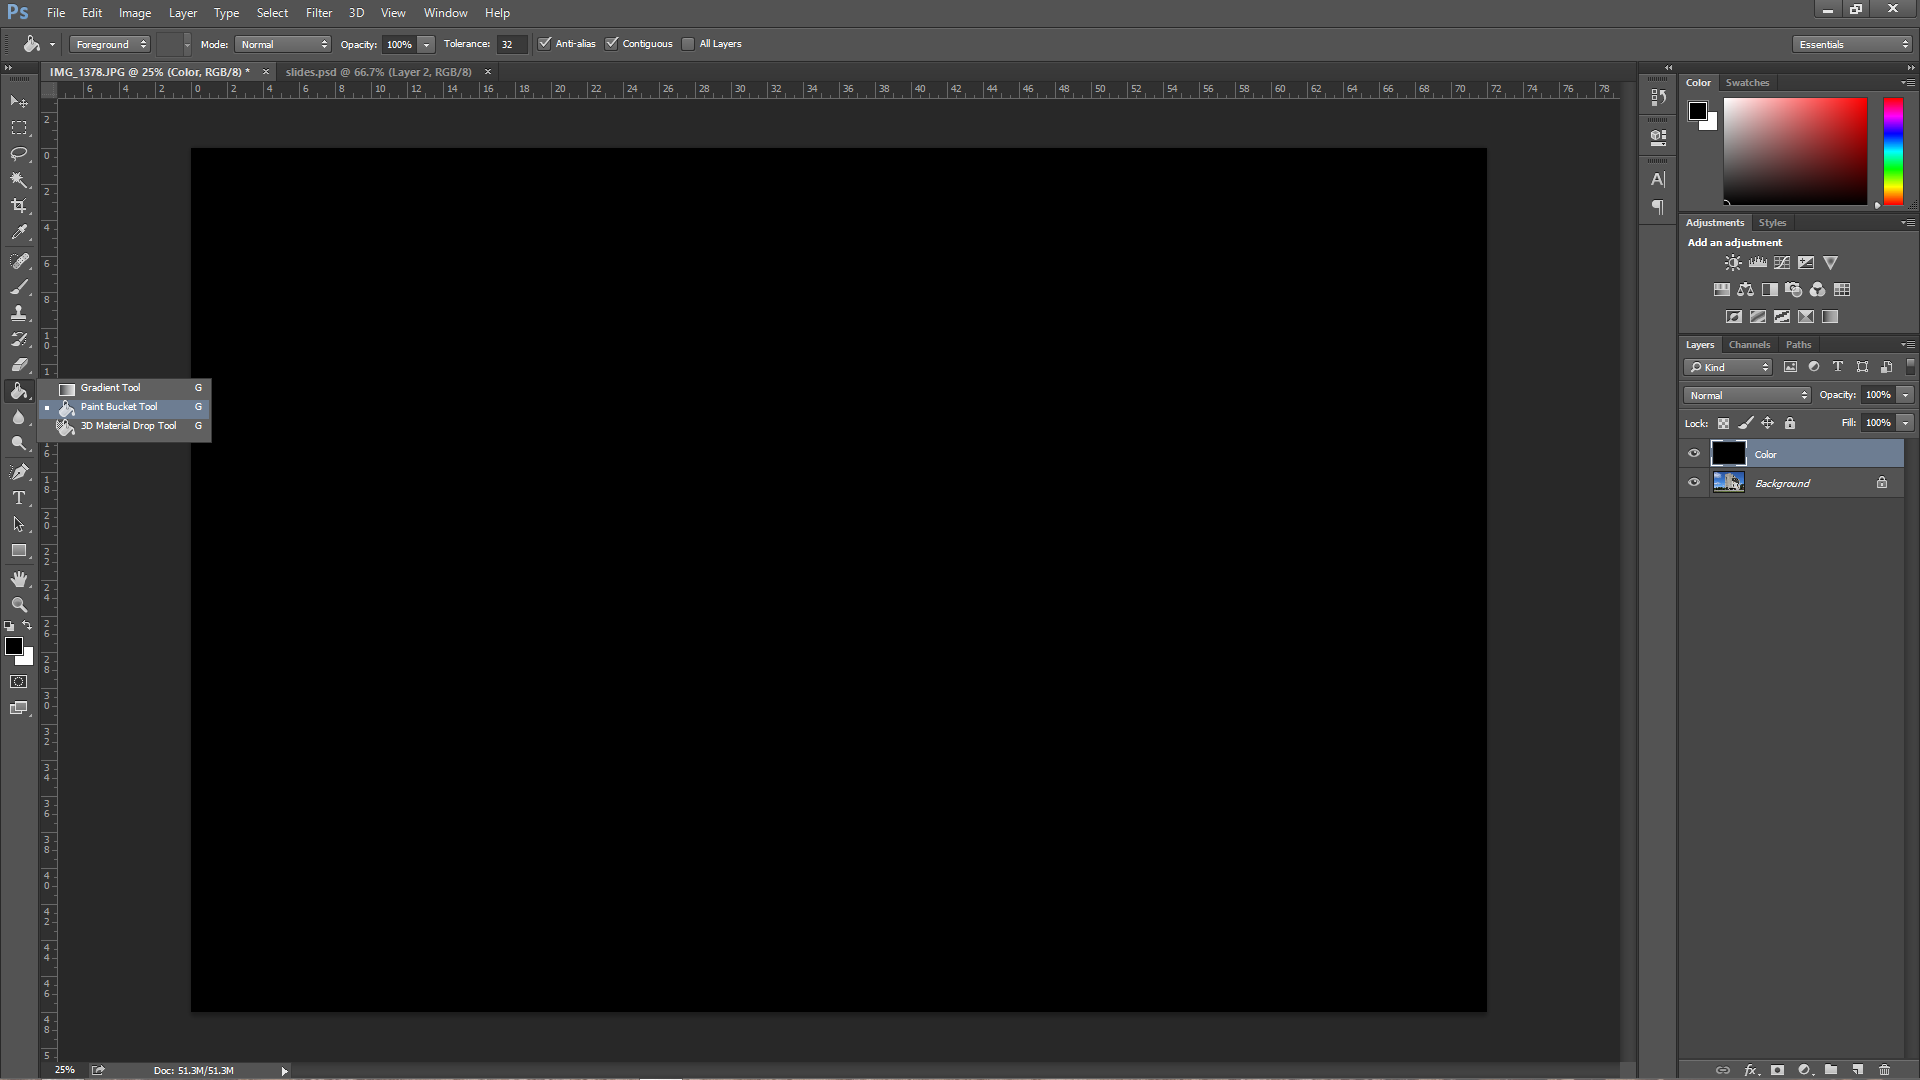
Next, create a new layer, by going to “Layer > New Layer” (or, by using the keyboard shortcut “Ctrl + Shift + N” on Windows or “Cmd + Shift + N” on a Mac). Click on the new layer in the layers panel on the right to make sure it is selected, and then select the Paint Bucket tool in the tools panel on the left. Pick the foreground color you would like to use for your shaded border (in this example we use black, but you can use any color) and then fill the new layer with your color of choice.
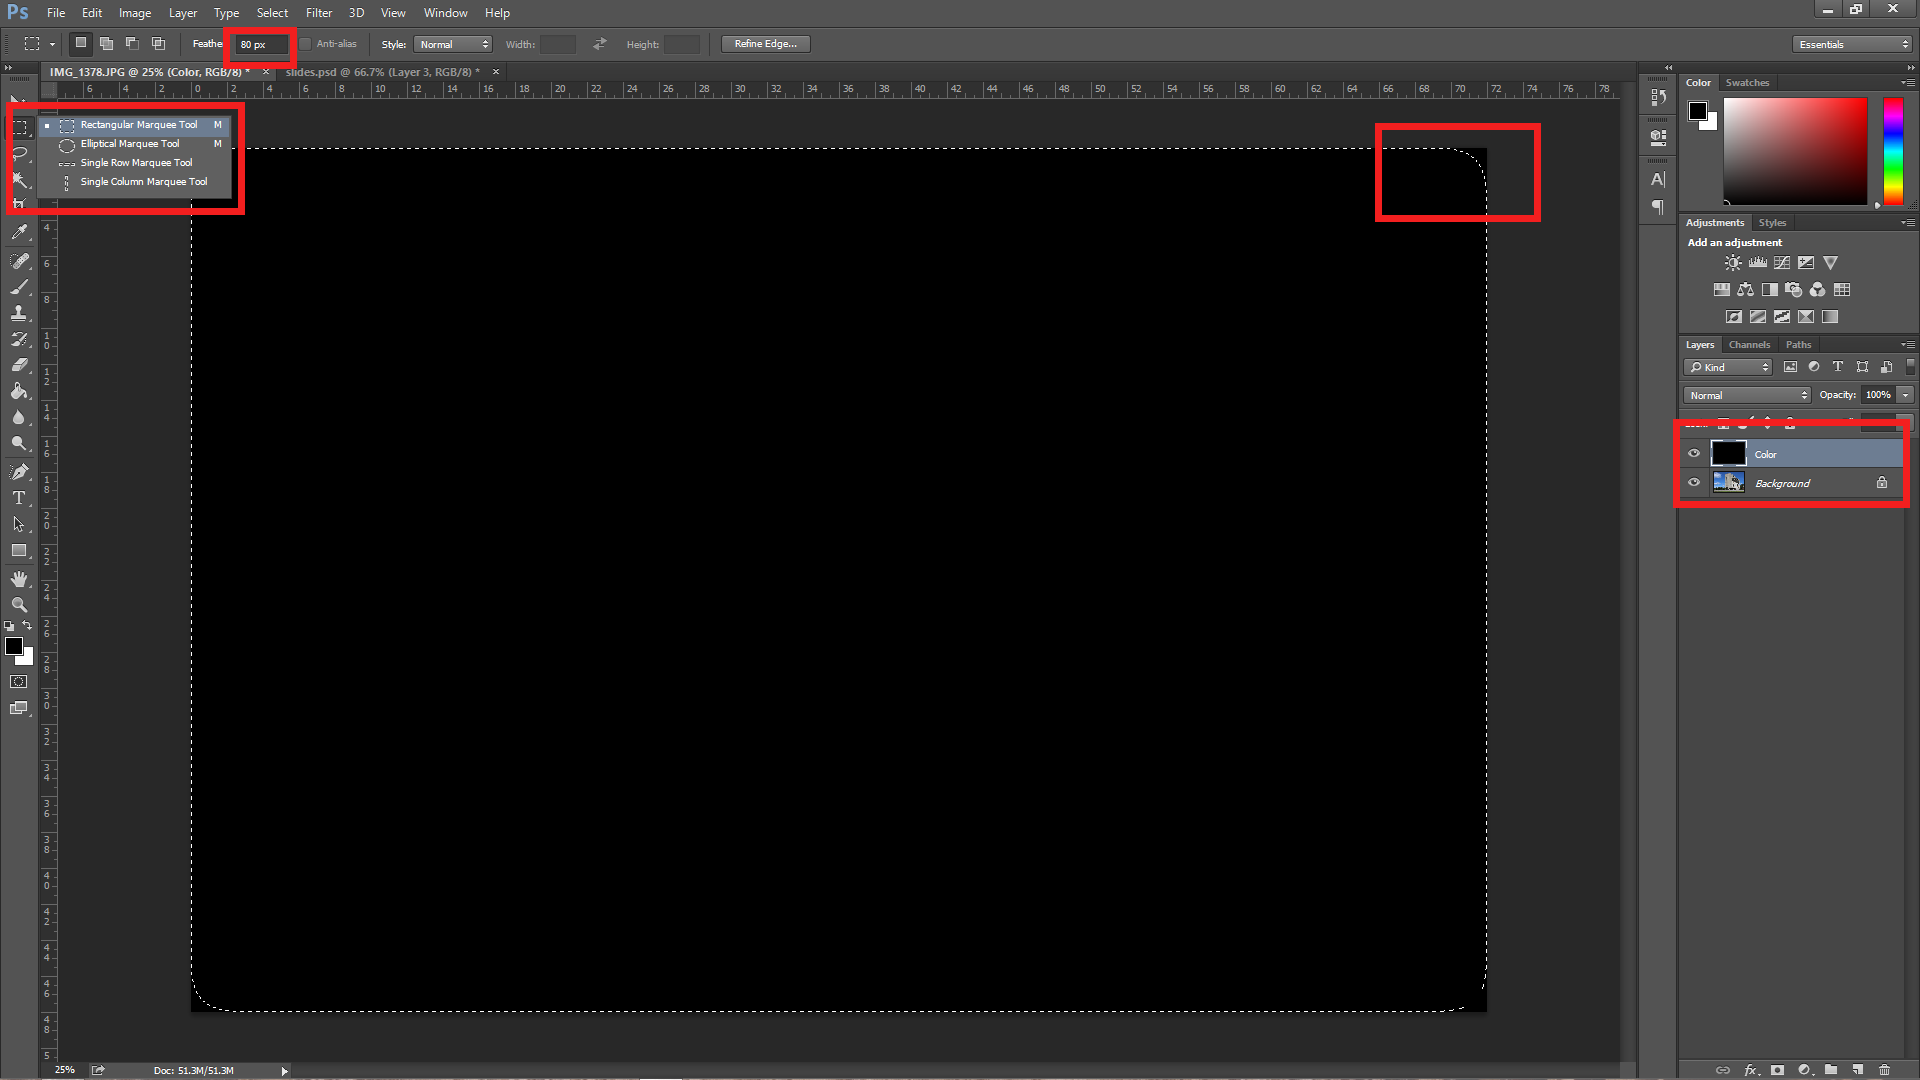
After filling the new layer, we will use the Rectangular Marquee Tool to create our border. Select the tool, and make sure its Feather attribute (located in the upper left) is greater than 0. Depending on the size of your image, and how much of a border you want visible, this will vary. My image is quite large so I have a feather of 80 pixels, however a small image may work best with only 12 pixels. After choosing a feather radius, drag and select the entire size of your canvas. You can begin outside the upper left corner and drag over the whole image to make sure you have it selected completely over each edge. When you release holding your mouse-click, the rectangle will now show a dotted line with curved edges. If the curve is too large or small for what you want to do, simply change the feather radius and try again.
Now that we have our feathered selection, press the delete key or go to “Edit > Cut” to clear the middle of the full color layer. Your original photo will now show through underneath with the added border on top.

Experiment with different colors and feather radii to see what you can create!
