My slide into galleries deep down the thread and yarn crafts rabbit hole continues inexorably and is gathering pace… and so it was that in the middle of June I became the proud owner of the necessary supplies to get started on bobbin lace. It shares aspects with weaving, but with the roles of warp and weft threads constantly changing.
There are two broad classes of bobbin lace: continuous lace and part lace. The names tell it all, in that continuous lace consists in working the final piece as a single item, while in part lace various motifs are stitched independently then joined together.
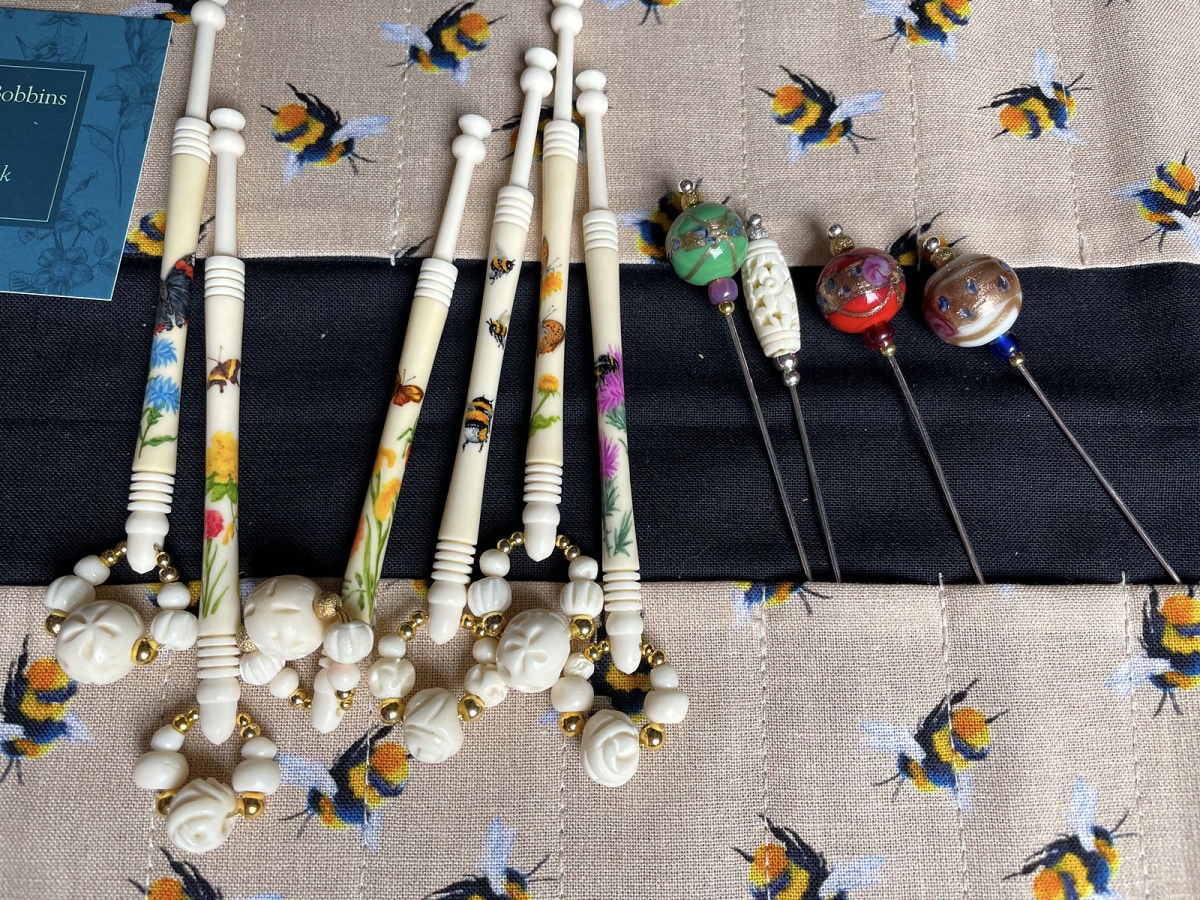
Bobbin lace uses, of course, bobbins, and on these alone the selection is pretty much infinite – they go from machine made to hand turned, out of wood, bone or metal, resin and even glass (in addition to plastic – though these are pretty rare). They can easily turn into works of art, and master craftsmen and artist embellish them in all sorts of ways, from inlays of brass wire, silver, gold and other materials, to intricate carving, to beautiful painted decorations. A list of lace bobbin makers and decorators is here – so they are mostly UK based, with the exception of one maker based in Belgium. In addition to these here is a link to Jean Roux, in France, who delivers to the UK and has some exquisite work (continental lace bobbins only).
Bobbins hold thread (cotton, linen, silk) that is pinned (yes, you need a ton of pins) on a pillow – and here too, the variations are very many. Again, there are two main families: the bolster pillow, around a roller, which usually is worked “palms up”, that is the bobbins hang freely down the pillow (from the pins), and the lace maker manipulates . Mostly a tradition of continental Europe, this uses so called continental bobbins, which have a bulbous end to tension the thread. The second category is mostly flat, or domed shaped (cookie pillow, flat pillow). The lacemaker in this case works typically “palms down”, as the bobbins lay on the pillow and are shifted around. For these pillows typically you’d use Midland bobbins, which are uniformly thing. To avoid them rolling around the pillow they are spangled with beads (can you see another sliding gallery opening here?!), adding a further array of possibilities for personalisation and decoration of your tools. Why not use precious stones for spangles?

How beautiful bobbins can be is really hard to describe – the bone ones decorated with flowers and butterflies pictured at the top are my first crafted bobbins, beautifully painted by Dee Carver. The pins in the picture above are “divider pins”, which are used to separate various groups of bobbins – obviously the lace maker needs these to be very pretty too!
The beads attached are the top are typical of the “Midland” style of bobbins which are prevalent in the UK bobbin lace tradition, and are needed to both weigh the bobbins to improve tension, as well as to avoid the bobbins rolling around. Those beads are called “spangles”, and spangling (i.e. adding beads to bobbins) of course opens up all sorts of possibilities.


Talented, award winning designer Louise West has an instructional YouTube channel – among other things, she also expansion how to spangle bobbins:
Bobbins work in pairs, each pair holding a different end of the same thread, and the whole process is based on two basic movements involving two pairs: Crossing and twisting. A cross is when the bobbin from one pair moves from the left to the right and over the adjacent bobbin from the other pair. A twist is when one bobbin moves from right to left and over the adjacent bobbin in the same pair. And that’s pretty much the basis of bobbin lace making, the same as “over, under; under, over” is on the basis of weaving. And yet endless sequences of combinations of these movements produce some amazing cloth – this fascinates me no end!
The pinning, crossing and twisting takes place following a pattern, which is prepared, or “pricked”, on sturdy card that is pinned to the lace pillow: pricking consists in making holes in the cards where the pins to make the pattern will go. The pricking of the pattern can take even hours for a complex/large pattern, and lace makers do embrace technology. The amazing Louise West has developed. And of course there is software to make patterns, too.
As in weaving, the connection with maths is inevitable – so enter Veronika Irvine, an amazing artist who also happens to be an academic mathematician and computer scientist. Tech and lace are an obvious match for modern times, and I will blog on this separately – for the moment I invite you to lose yourself in Veronica’s site.
So, if you catch the bug, where to start? Torchon seems a favourite to introduce the absolute beginner to the magic of lace, so that is where I am starting from – here are my very first and very bumpy practice pieces (first to the left, last to the right), there is at least one mistake in most of them.

Below the books I am using (there are a couple more that I could not source, but are usually highly recommended: Pamela Nottingham’s “The Technique of Bobbin Lace”, 2001 edition; Betty Alderson’s “Bobbin Lace Without a Teacher”; and Christine Stringett’s “The Torchon Lace Book”). Of those I have, the three I would consider essential are both of Bridget Cook’s and Jan Tregidgo’s book, however I am happy that I have all five:
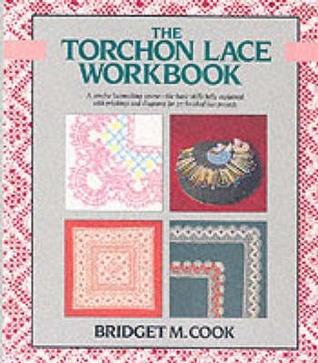 | “The Torchon Lace workbook”, by Bridget M. Cook An excellent book for beginners, strikes a great balance between thorough instructions and getting you going. Ten increasingly involved exercises covering the all the basic elements, and 27 patterns. Wonderful diagrams show clearly the interlacing between the treads. Definitely one to have. |
 | “Torchon Lacemaking: A Step-by-Step Guide”, by Jan Tregidgo Another excellent beginner book, this covers more ground than the previous one, though it proceeds more slowly. Rather than diagrams, there are a zillion photographs, and each sampler is presented both in white only and in a version with bobbin pairs in many different colours to show the paths clearly. Another must have. |
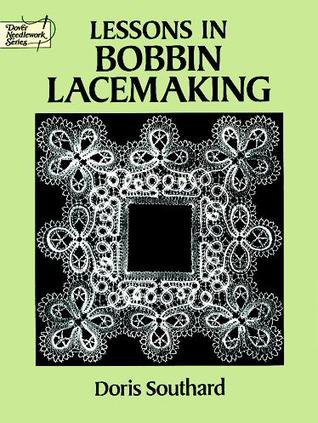 | “Lessons in Bobbin Lacemaking”, by Doris Southard Probably the most old fashioned in terms of teaching style, in that it lacks the detailed photos and diagrams of the previous two books, but it is the only one that ventures into other types of lace. Another one for the bookshelf! |
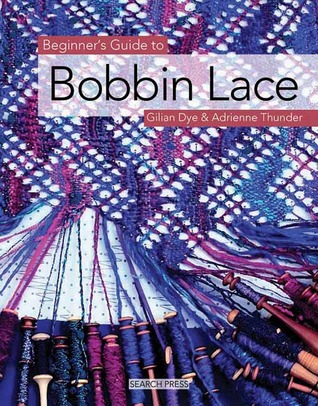 | “Beginner’s guide to bobbin lace”, by Gilian Dye and Adrienne Thunder The less comprehensive of the four introductory texts listed here. On the plus side, plenty of clear photographs, and several simple patterns for “useful” lace, e.g. scarves. Only available as paper book. |
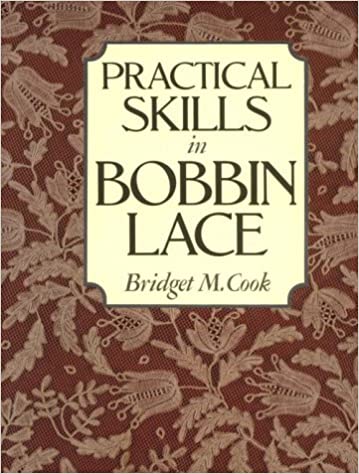
 | “Practical Skills in Bobbin Lace”, by Bridget M. Cook This is most definitely not a beginners book – however this very comprehensive reference book for anything you might need to know, supported by Bridget Cooks crystal clear diagrams, is very useful to have handy even for the beginner, so it is an essential reference also for the beginner. |